




DIY Vocal Booth: How to Build a Small Recording Booth with Acoustic Foam

A DIY vocal booth is a small, enclosed space, often a wardrobe, alcove or simple timber frame, lined with acoustic foam so a microphone records your voice without the echo of the room around it. It will not make the space soundproof, but it does make recordings sound clean and close. GB Foam Direct supplies the acoustic foam tiles, bass traps and fire-rated sheets that most home booths are built with.
Key takeaways
- A vocal booth cuts reflections around the microphone; it does not stop sound passing through walls to the rest of the house.
- Sound On Sound advises allowing three to six inches (7.5 to 15cm) of treatment on the walls, which can shrink a small room by up to a foot (30cm) in each direction.
- With a cardioid microphone, the wall behind the singer matters most, because the mic picks up reflections from behind the singer’s head.
- Our SoundFix wedge tiles are 300mm x 300mm x 50mm with an NRC of 0.85 and come in packs of 24, 48 or 72.
- Thin foam mainly absorbs mid and high frequencies, so add bass traps or thicker treatment if the booth sounds boomy.
- GB Foam Direct has converted foam in High Wycombe since 1976 and offers next working day delivery on orders placed before 11am Monday to Thursday.
What Is a DIY Vocal Booth?
A DIY vocal booth is a home-built recording space small enough to treat with acoustic foam on most of its inside surfaces.
Singers, podcasters and voiceover artists use them because a normal room has hard walls that bounce your voice back into the microphone a few milliseconds later. That reflected sound makes a recording sound hollow, distant or boxy, and no plug-in can fully remove it afterwards.
A booth is different from treating a whole room. Room treatment, covered in our acoustic foam guide for YouTubers and streamers, spreads panels around a space you also live in, whereas a booth puts a lot of absorption close to the microphone.
Where Can You Build a Vocal Booth at Home?
You can build a vocal booth in a fitted wardrobe, a cupboard under the stairs, an alcove or a corner closed off with a simple frame.
A walk-in wardrobe full of clothes is already a good start, because soft fabric absorbs high frequencies. The table compares the common options.
| Booth Type | Best For | Foam Needed | Watch Out For |
|---|---|---|---|
| Wardrobe or closet | Voiceover, podcasts | Back wall and ceiling, sides if bare | Very small spaces can sound boxy |
| Cupboard under the stairs | Spoken word | Walls behind and beside you | Sloping ceiling, little headroom |
| Corner with a frame or curtains | Singing, rap, instruments | Two walls plus frame panels | Needs space for the frame |
| Freestanding timber frame booth | Regular recording | All inside walls and ceiling | Most work; plan ventilation |
What Foam Do You Need for a Vocal Booth?
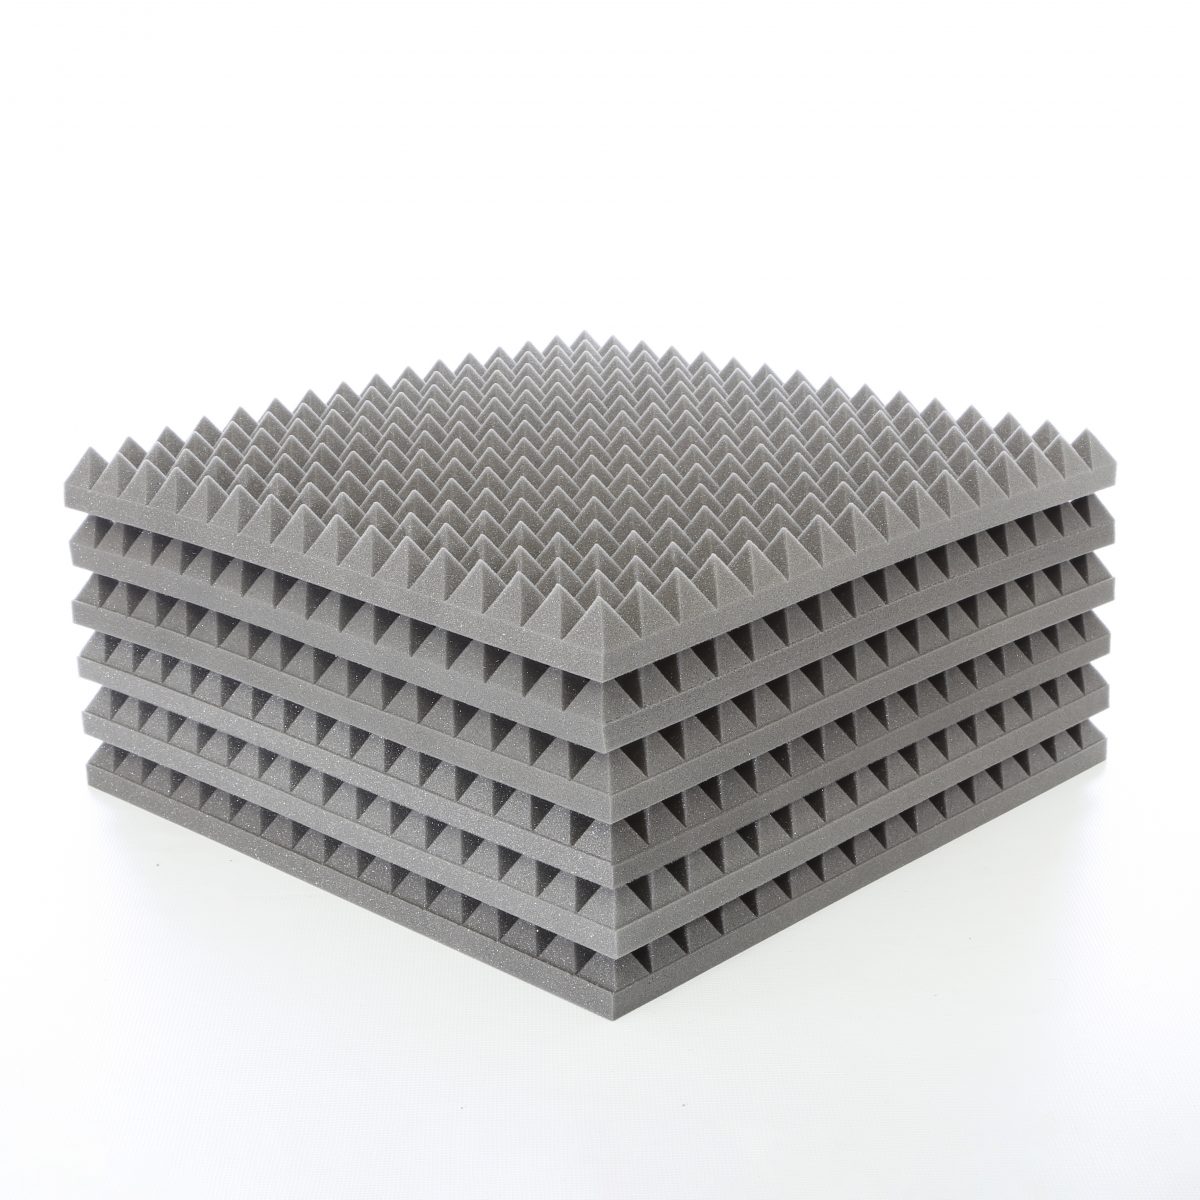
Most home vocal booths are built with 50mm wedge or pyramid acoustic tiles on the walls, plus bass traps or thicker panels if the space sounds boomy.
Acoustic foam is an open cell foam that turns sound energy into a tiny amount of heat as air moves through it. According to Sound On Sound, thin foam absorbs above roughly 300 to 400Hz but leaves the low end uncontrolled, which is why small booths can still sound boxy. Our bass traps guide covers the corner treatment that helps with low frequencies.
| Product | Size | Absorption | Best Use in a Booth |
|---|---|---|---|
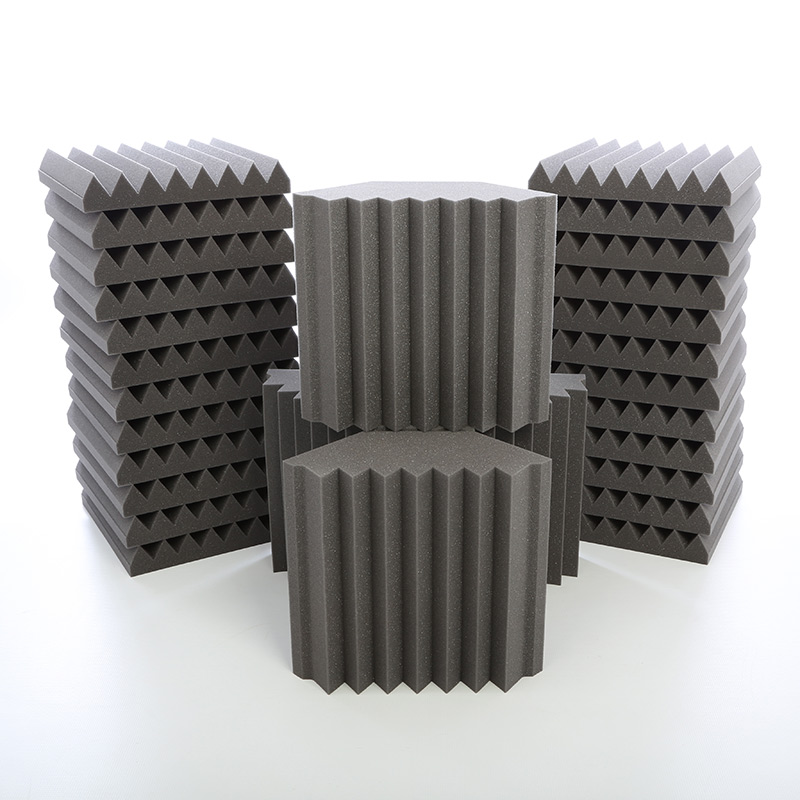
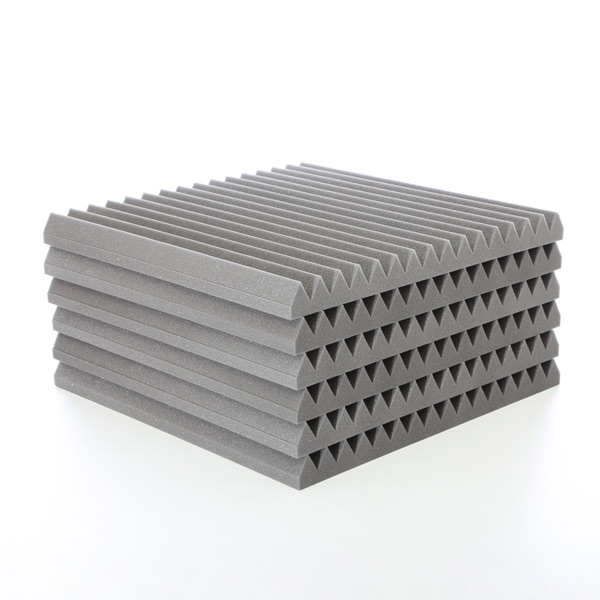
| SoundFix wedge tiles (grey) | 300mm x 300mm x 50mm, packs of 24, 48 or 72 | NRC 0.85 | Main wall and ceiling coverage |
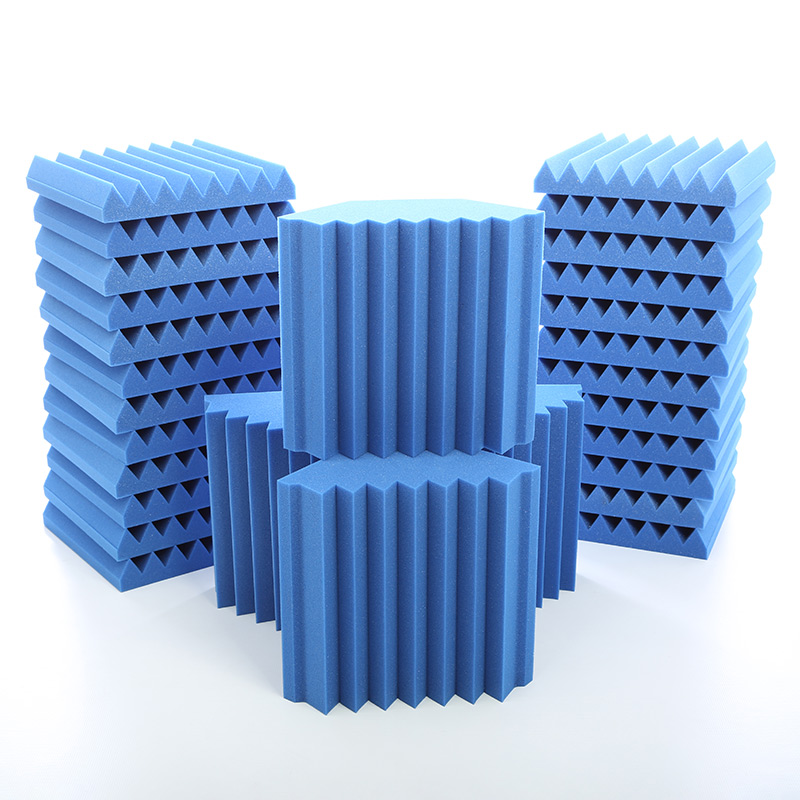
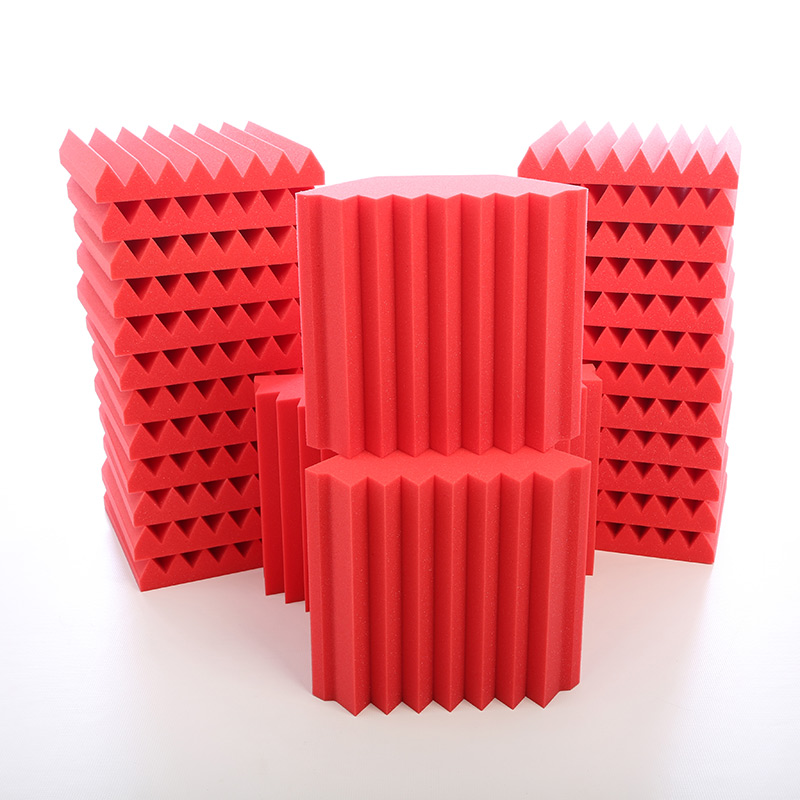
| Blue or red acoustic wall panels | 300mm x 300mm tiles | NRC 0.85 | Colour to suit a studio look |
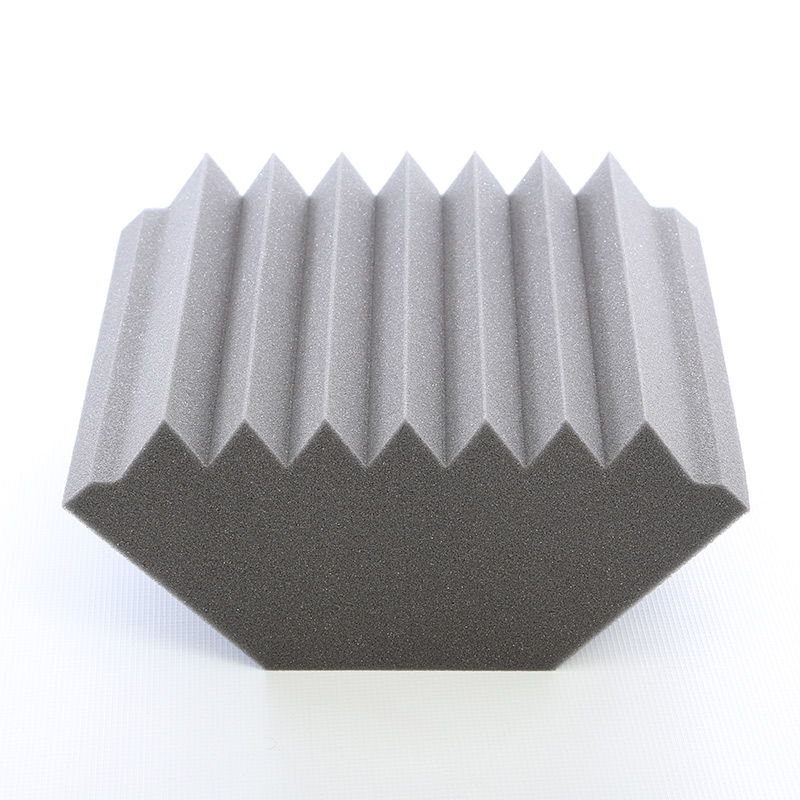
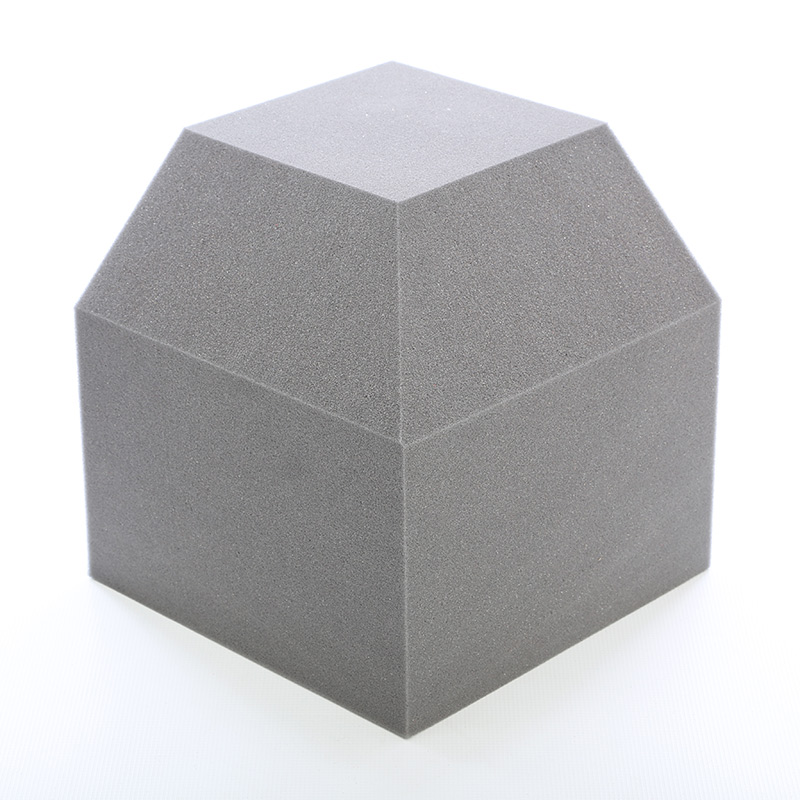
| Acoustic foam bass traps | Corner wedge traps | Thicker in corners for lower frequencies | Corners of frame or closet booths |
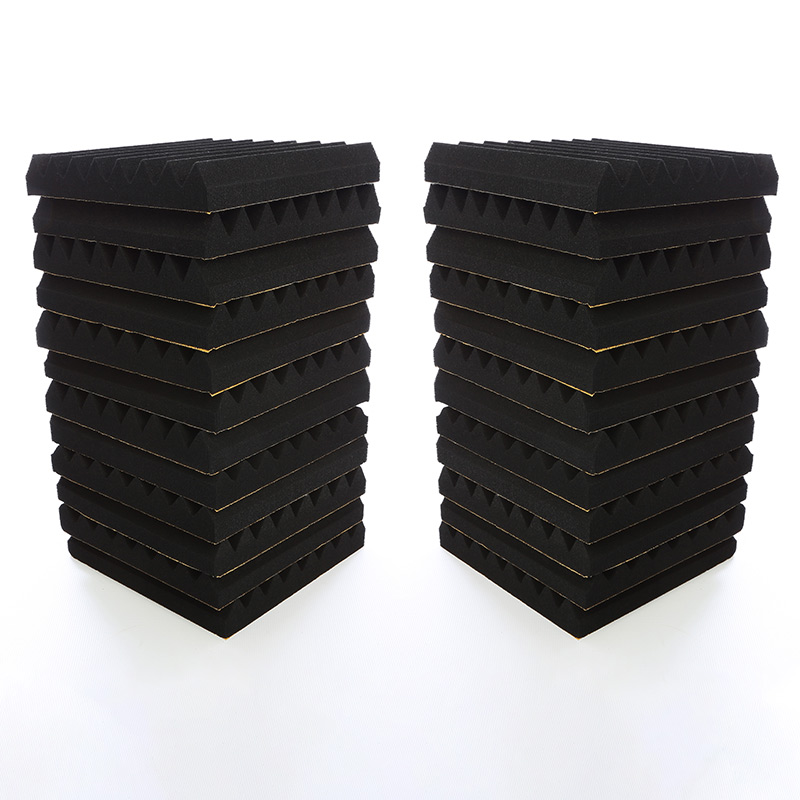
| Self-adhesive black tiles (Class 0) | 300mm x 300mm x 50mm | Not stated | Booths where a Class 0 lining is wanted |
The shape of the face matters less than the thickness and how much surface you cover. Our post on whether the shape of acoustic foam matters explains wedge and pyramid profiles.
How Much Acoustic Foam Does a Vocal Booth Need?
Work out the area of the walls you will treat and divide by 0.09 square metres, which is the face of one 300mm x 300mm tile.
For example, a wardrobe 1.2m wide, 0.6m deep and 2m high has a back wall of 2.4 square metres and two side walls of 1.2 square metres each. Treating all three walls takes about 4.8 square metres, or 54 tiles, so a 72 pack covers the walls with enough left for part of the ceiling.
Sound On Sound suggests keeping some reflective surface rather than covering every inch, because a booth that is completely dead can feel oppressive to sing in.
How Do You Cut Acoustic Foam Tiles to Fit?
You can cut acoustic foam tiles to fit at home with an electric carving knife or a long, sharp serrated knife.
Most booths have gaps at the edges, around a door frame or under a sloping ceiling where whole 300mm tiles will not fit. Measure the gap, mark the cutting line on the back of the tile with a pen and a straight edge, then cut with steady, even strokes while holding the tile flat on a firm surface. Test your knife on an offcut first, and never use a hot wire cutter, because acoustic foam is a polyurethane foam that should not be melted. Our guide on how to cut foam covers the tools in more detail.
If you would rather not cut foam yourself, we also offer flat acoustic foam cut to size. Send us the measurements of each wall, panel or awkward space through our foam cut to size service and the sheets arrive ready to fit, which suits frame booths and boards that need an exact fit.
Which Vocal Booth Setup Should You Choose?
Choose your setup by what you record and how often, then match the foam to it.
| Use | Recommended Setup | Why |
|---|---|---|
| Podcasts and voiceover | Wardrobe booth, 50mm tiles behind and above you | Speech sits in the mid range that foam absorbs well |
| Singing | Corner or frame booth, tiles plus bass traps | Wider range, more low end to control |
| Occasional recording | Tiles on the wall behind you plus a duvet in front | Low cost, easy to remove |
| Rented home | Freestanding frame with tiles fixed to boards | No adhesive on the walls |
| Commercial studio or hire space | Self-adhesive Class 0 black tiles or Fireseal sheets | Fire-rated lining for a business setting |
How to Build a DIY Vocal Booth with Acoustic Foam
You can build a simple wardrobe or corner vocal booth in an afternoon by choosing the space, measuring it and fixing foam where the microphone hears reflections most.
Choose the quietest space. Pick a wardrobe, alcove or corner away from windows, traffic and household appliances.
Measure the surfaces. Measure each wall and the ceiling you plan to treat and divide the area by 0.09 square metres to count the tiles.
Plan the microphone position. Place the microphone facing you with your back to the main treated wall, since a cardioid mic hears what is behind you.
Treat the wall behind you first. Cover the wall behind the singer or speaker with 50mm tiles, as this does the most for a clean recording.
Add side walls and ceiling. Fill the side walls and ceiling next, leaving a little bare surface so the booth does not feel completely dead.
Fit bass traps in the corners. Add corner bass traps if the booth sounds boomy or boxy on deeper voices.
Fix the foam. Use spray adhesive on a solid wall, or fix tiles to boards first if you need to remove them later.
Test and adjust. Record a short test, listen back on headphones and move or add panels until the voice sounds close and even.
Mistakes to Avoid
- Covering the wall in front of you only. With a cardioid mic, the reflections that matter most come from behind you, so treat that wall first.
- Using egg box or packaging foam. Packaging foam is not made for acoustic absorption, so use proper acoustic tiles.
- Expecting soundproofing. A booth cuts echo at the microphone but will not stop the neighbours hearing you.
- Ignoring the low end. Thin foam leaves low frequencies untouched, so add bass traps if the booth booms.
- Forgetting fresh air. A small closed booth gets warm and stuffy fast, so open the door between takes.
- Leaving gaps at the edges. Cut tiles to fill the gaps around doors and corners, or order flat acoustic foam cut to size, so bare strips do not reflect sound.
- Fitting foam near heat. Keep acoustic foam away from lamps, heaters and hot equipment.
Why Choose GB Foam Direct?
GB Foam Direct has converted foam in High Wycombe since 1976 and is ISO 9001 certified. Our acoustic tiles are CNC cut, and our standard range is UL94 approved and exceeds the Furniture and Furnishings (Fire) (Safety) Regulations 1988. For a business studio, we also supply self-adhesive Class 0 black tiles and Fireseal sheets classified Euroclass B-s1,d0. Read our guide to acoustic foam for soundproofing for the difference between absorbing and blocking sound.
Speak to Our Team
If you need help choosing acoustic foam for a vocal booth, call us on 01494 441177, email sales@gbfoam.com or fill out our contact form. We are in the office from 9am to 5pm Monday to Thursday and 9am to 3pm on Friday.
DIY Vocal Booth FAQs
How do you make a DIY vocal booth?
You make a DIY vocal booth by choosing a small space such as a wardrobe or alcove and lining it with acoustic foam, starting with the wall behind you. Add the side walls and ceiling next, then corner bass traps if it sounds boomy. Test with a short recording and adjust the panels until your voice sounds close and even.
Does acoustic foam work in a vocal booth?
Yes, acoustic foam works in a vocal booth by absorbing the reflections that would otherwise bounce back into the microphone. It makes recordings sound cleaner and closer. It does not soundproof the booth, so people outside will still hear you.
How thick should foam be in a vocal booth?
Most home vocal booths use 50mm acoustic foam tiles on the walls. Thin foam mainly absorbs mid and high frequencies, so add bass traps or thicker treatment if the booth sounds boomy. Sound On Sound suggests allowing three to six inches (7.5 to 15cm) of total wall treatment.
Can I use a wardrobe as a vocal booth?
Yes, a wardrobe makes a good vocal booth, especially one full of clothes, because soft fabric already absorbs high frequencies. Line the back wall and ceiling with acoustic foam and stand with your back to the treated wall. Very small wardrobes can sound boxy, so leave some space around the microphone.
How many acoustic foam tiles do I need for a vocal booth?
Divide the wall area you want to treat by 0.09 square metres, the face of one 300mm x 300mm tile. A wardrobe 1.2m wide, 0.6m deep and 2m high needs about 54 tiles to cover its back and side walls. A 72 pack leaves enough for part of the ceiling.
Which wall should I treat first in a vocal booth?
Treat the wall behind you first, because a cardioid microphone picks up reflections from behind the singer’s head and body. Then add the side walls and the ceiling. The wall behind the microphone matters less.
Is egg box foam good for a vocal booth?
No, packaging egg box foam is not designed to absorb sound and does little for a vocal booth. Use proper acoustic foam tiles, which are made from an open cell acoustic grade foam. Our SoundFix wedge tiles have an NRC of 0.85.
Can you cut acoustic foam tiles to fit?
Yes, you can cut acoustic foam tiles to fit with an electric carving knife or a long, sharp serrated knife. Mark the line on the back of the tile, hold it flat on a firm surface and test on an offcut first. Do not use a hot wire cutter on acoustic foam, and if you would rather not cut it yourself, GB Foam Direct offers flat acoustic foam cut to size.

Cameron has emerged as a key marketing expert since joining GB Foam Ltd in 2017. A graduate of the University of Winchester, with a professional background in Public Relations; he has combined his content writing and brand awareness expertise with an in-depth knowledge of foam products and foam conversion technology to enhance the company’s marketing strategies and industry presence. Cameron has led numerous marketing campaigns, in both B2B and B2C segments, to further brand recognition and open up new business avenues worldwide.